Business Central automates automatic cost posting and automatic cost adjustment in the system, one can make use of this feature to reduce the manual step of adjusting costs in the system. However, when we are posting a large volume of data we may feel the need to disable this automation as it may slow down the system and manually adjust cost item entries and Post Inventory Cost to G/L Batch Job.
We can also set up Job Queues to run these processes during non-business hours.
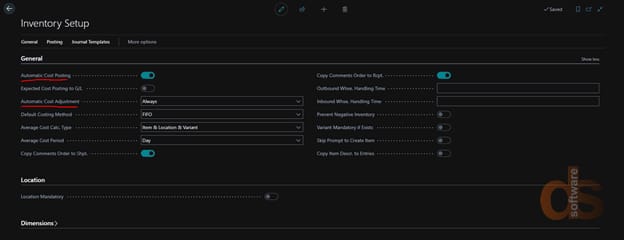
If we check the description of this feature one can find that using this function one can manually post transactions to various inventory accounts. When the Boolean is unchecked, one will have to adjust the cost using Post Inventory Cost to G/L batch Job.

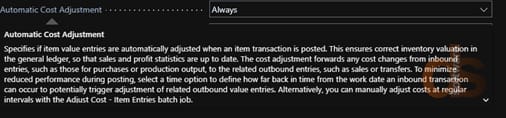
Similarly, we can see that Automatic Cost Adjustment when set to always, adjusts an item transaction when posted. When set to Never we will have to adjust the same manually using Adjust Cost Item Entries.
Once we disable the automatic cost posting and set automatic cost adjustment to never, we will have to manually adjust the cost of the items manually.
As soon as we switch off the Automatic Cost Posting and Automatic Cost Adjustment we get a notification to set up a Job queue to run adjustments regularly after a set interval.
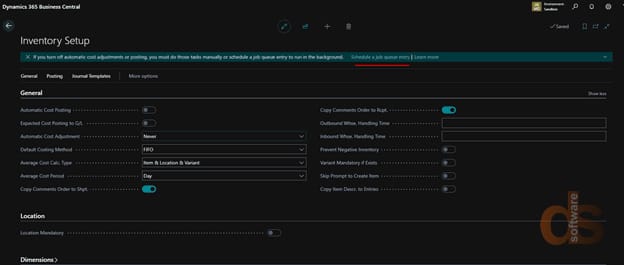
We will click on the Schedule a job queue entry, once we click on it we get a pop-up window to configure the Cost Adjustment and Posting.
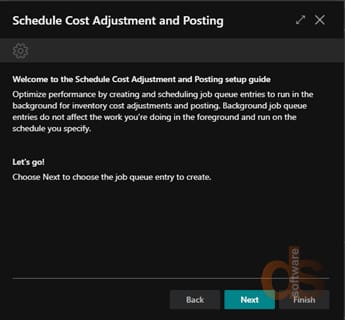
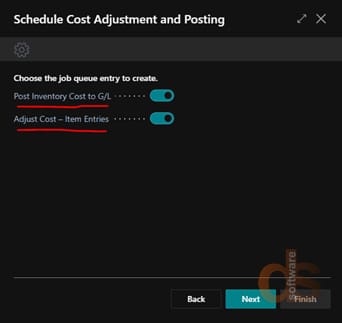
In the next window, we will get the option to create a Job queue for Inventory Cost to G/L or Adjust Cost – Item Entries or Both
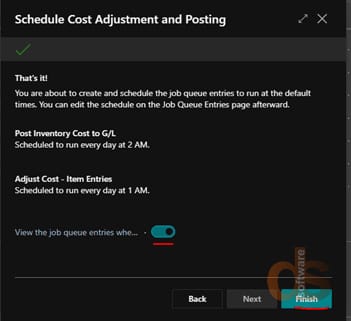
In the next window enable the view of the job queue entries when finished and hit finish.
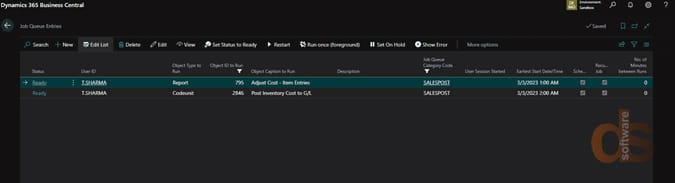
Since we have selected the view of the job queues when the complete Job Queue Entries window opens up showing both the Job Queues Created, click on edit on each one of these to specify the time at which each of these Job queues will run and the frequency at which these will run.
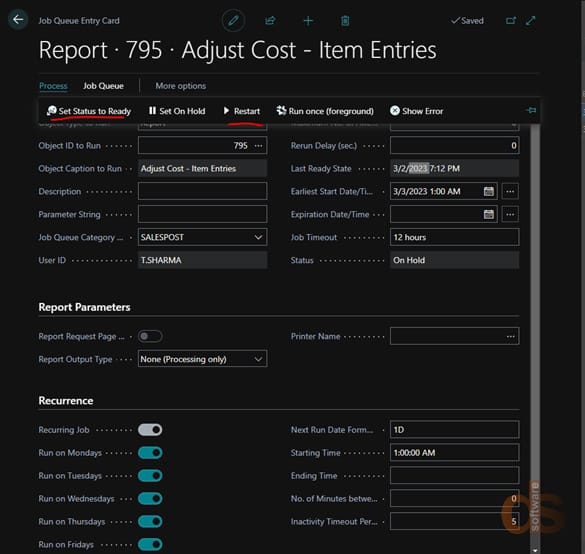
Click on edit Job Queue to open the Job Queue Card, In the Job Queue Card under the process group on the ribbon click on Set on Hold to edit the Last Ready State and Earliest Start Date/ Time and the frequency of running this Job Queue.
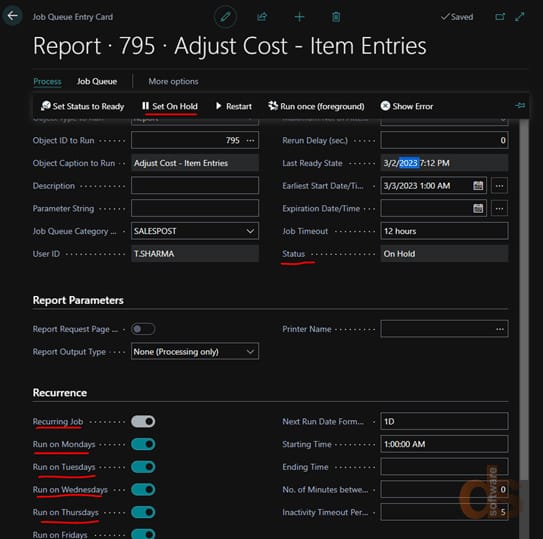
After making the necessary modification we will set the Status of the Job Queue Card to Ready state and Click on Restart.
Once the Job queue has been enabled repeat the steps for the other Job Queue as well.
About the author:
Tushar Sharma
Tushar Sharma is a Functional Consultant for Microsoft NAV and Dynamics 365 Business Central working with Direction Software LLP.